
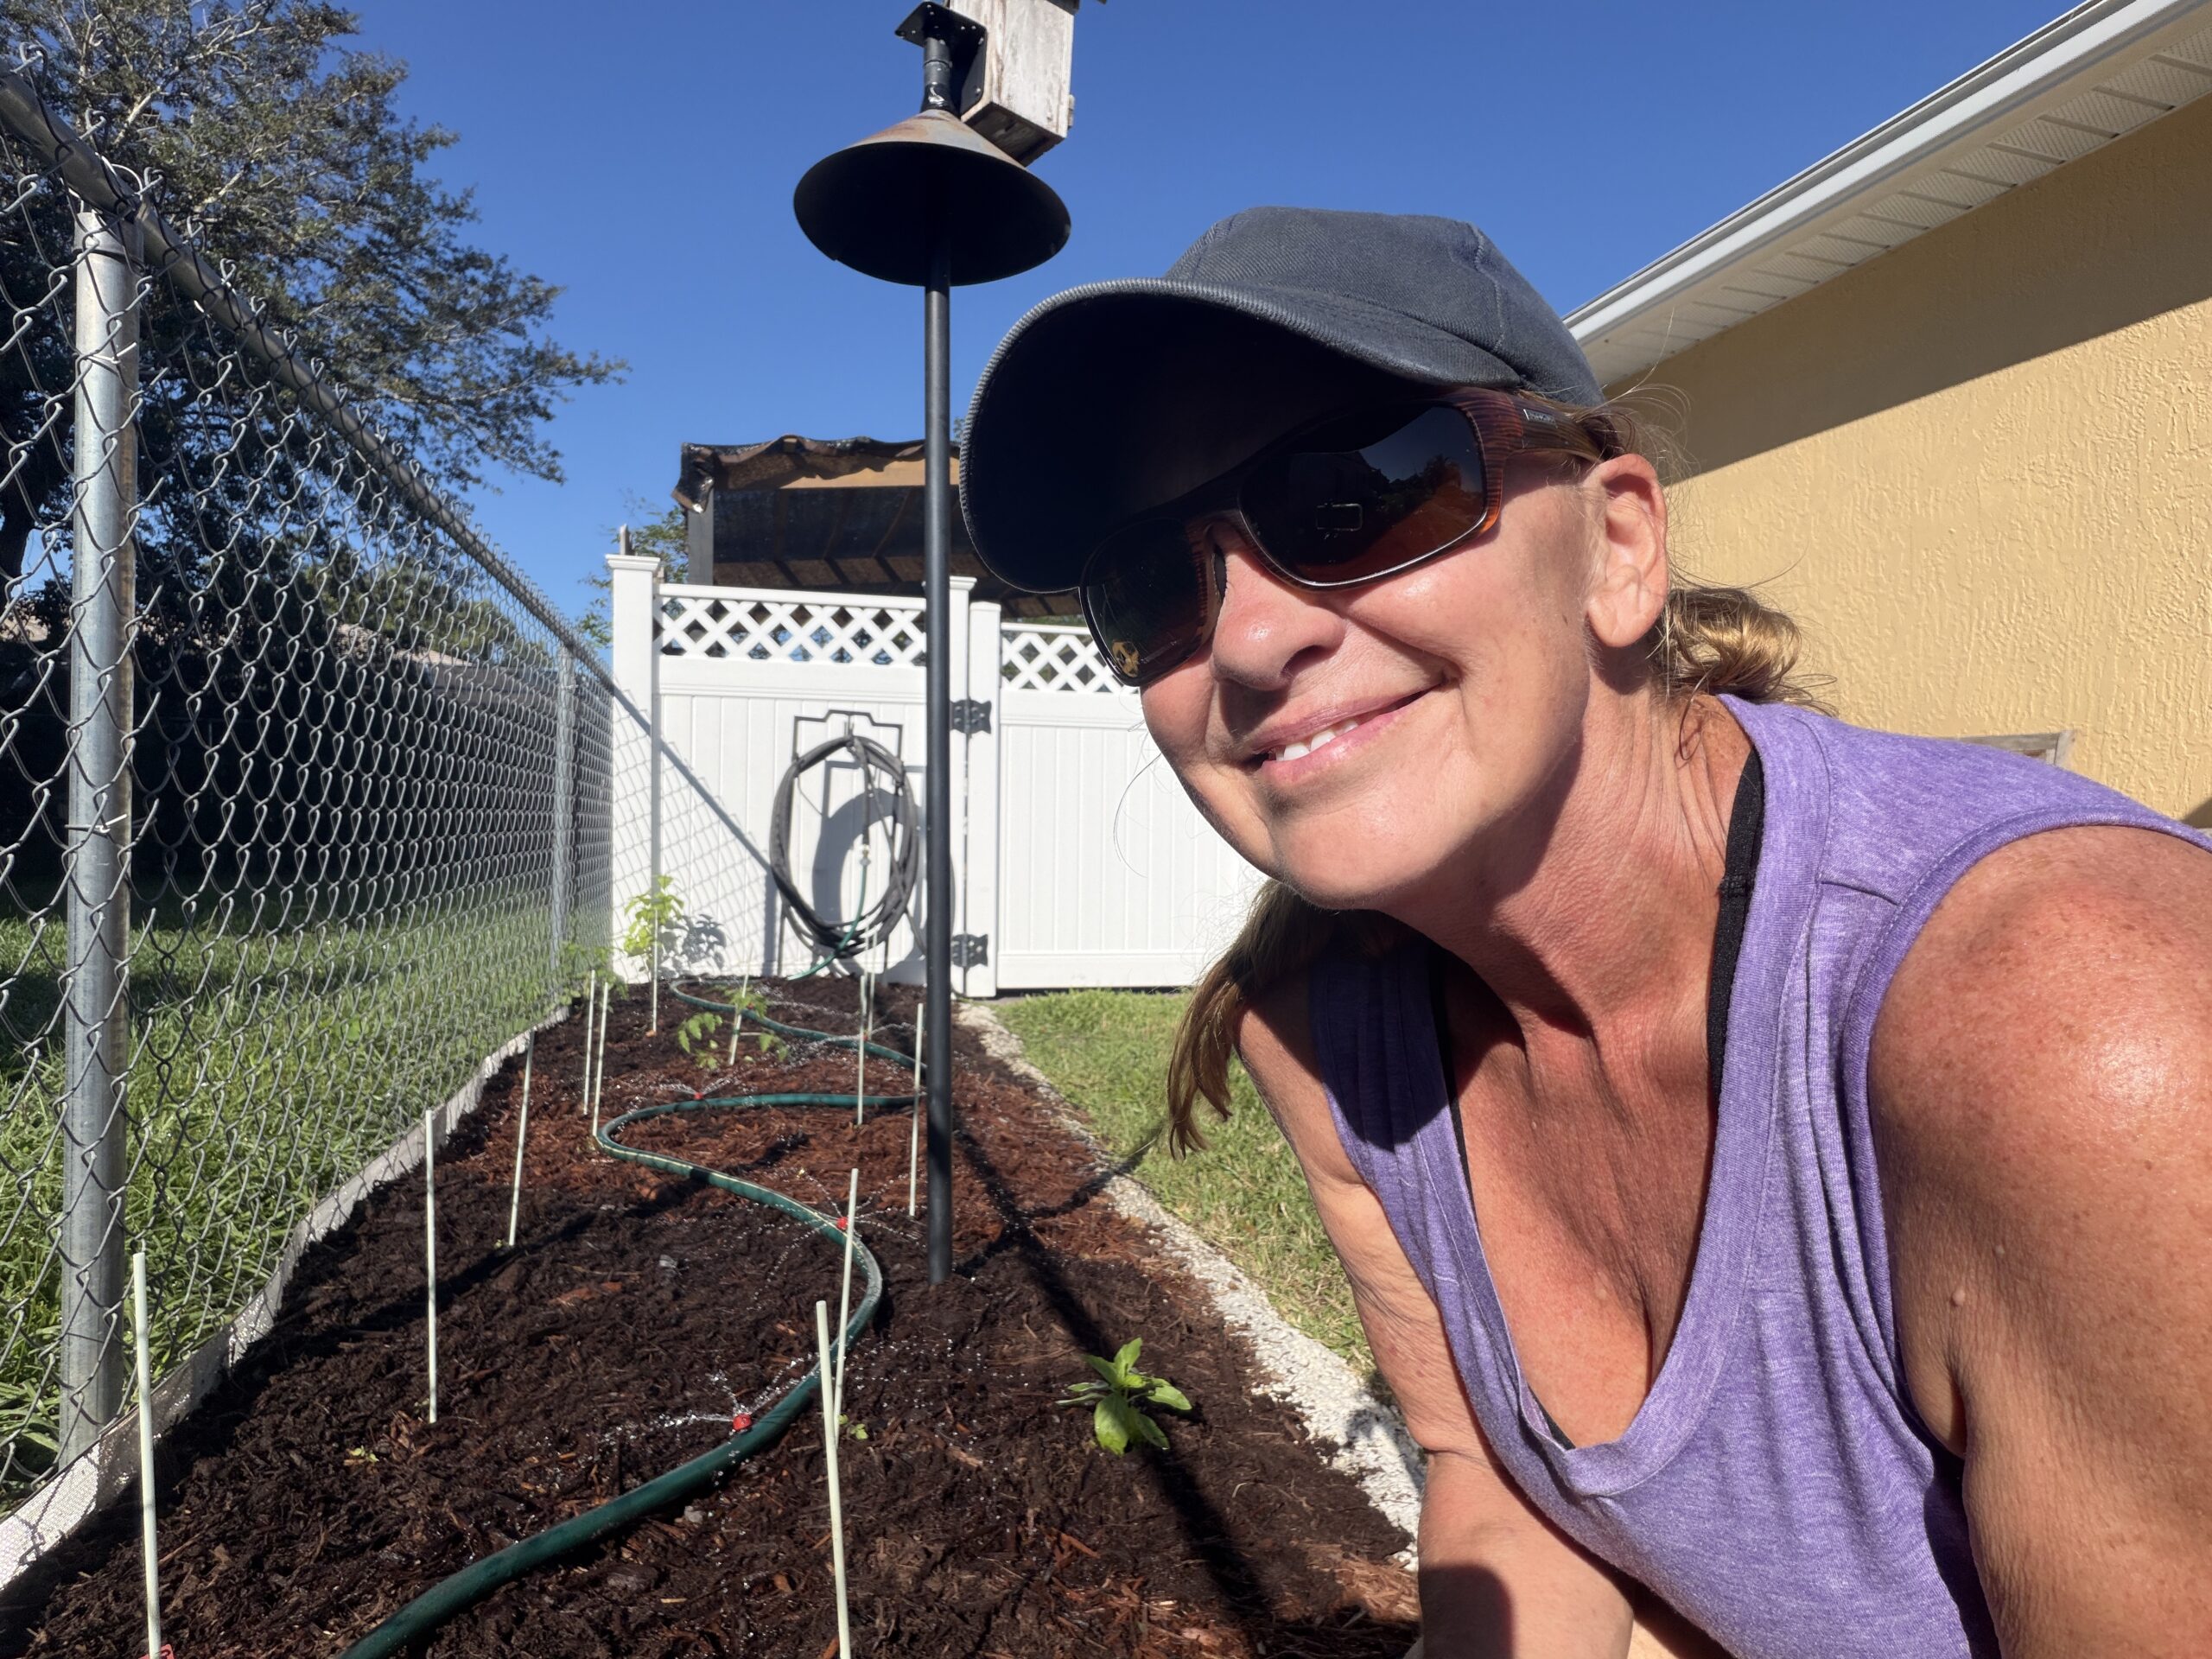
I planted out my San Marzano tomato seedlings, tucked them in with mulch, and turned a heavy old garden hose I’d retired into a drip line for the bed. Here’s how I did it, start to finish. 🍅
Why I’m planting tomatoes in October
If you gardened up north like I did in Michigan, planting tomatoes in October sounds backwards. Here in Florida, it’s right on time. Our summer heat and humidity are hard on tomatoes, but fall gives them the warm days and cooler nights they actually like. So while my old Michigan neighbors are pulling their vines, I’m just getting started.
In this video I take you through three things I did in one afternoon: getting my seedlings in the ground, mulching the bed, and building a drip line out of a hose I wasn’t using anymore.
Step 1: Planting the seedlings
I planted my San Marzano seedlings into an in-ground bed I’d already amended. (If you missed it, I walked through how I prepped and amended this soil in last week’s post.) A few things I do every time:
- Plant them deep. Tomatoes will grow roots all along any stem you bury, so I set them in deeper than they sat in the pot. More roots means a sturdier plant.
- Give them room. I space mine about 16 inches apart and stagger the rows, so each plant has space to fill out and air can move between them. In our humidity, airflow matters.
- Stake them early. I put the stakes in at planting time to encourage the plants to grow up instead of sprawling across the bed. Staking now also means I’m not poking around the roots later.
- Water them in right away. A good soak settles the soil around the roots and helps them get over the move.
A companion in the bed: basil. This bed already had basil in it, but by August the summer heat had it stressed. When I amended the soil, I cut the basil down, stuck the stalks in water, and let them root. In September I planted the rooted cuttings back into the bed, and now they’re growing alongside the San Marzanos. Tomatoes and basil are a classic pairing, and I didn’t have to buy a single new basil plant.
Step 2: Mulching the bed
Once the seedlings were in, I added another layer of brown mulch from the big box store around them, keeping it a couple of inches away from the stems. Mulch does a lot of quiet work in a Florida garden: it holds moisture so I’m not watering as often, keeps soil temperatures more even, cuts down on weeds, and keeps soil from splashing up onto the leaves when it rains.
Step 3: Turning an old hose into a drip line
This is my favorite part. I had an old garden hose that was so heavy I’d stopped using it, so instead of letting it sit around, I gave it a second life as a drip line. Here’s what I did:
- Laid the hose along the bed so it ran past the base of each plant.
- Drilled small holes near each plant with a small drill bit.
- Screwed an emitter into each hole. The emitters control the flow, so each plant gets a slow, steady drip.
- Capped the far end with an end cap from the irrigation section of my local big box store, so the water has nowhere to go but out the emitters.
- Connected it to the spigot and turned the water on to make sure every emitter was dripping.
- Left it on top of the mulch. I keep the hose where I can see it, so I can check at a glance that the pressure is good and each emitter is working. If one isn’t putting out enough, the emitters are adjustable.
Why I like it: water goes right to the roots instead of on the leaves, an old hose gets put back to work, and the whole setup is flexible. As the plants grow and their needs change, I can move the hose or adjust the emitters to match.
What I’ll be watching for
Over the next few weeks I’ll be keeping an eye on how the seedlings settle in and how evenly the drip line waters the bed. I’ll share updates as these plants grow, so follow along on Instagram, Facebook, and Pinterest to see how they do.
Get fresh garden stories in your inbox
New Garden Journal posts, seasonal Florida reminders, and first word on new guides.
Leave a Reply